|
|
|
|
|
|
|
|
|
|
|

|
| A Little History About
Jadeite Glassware
Jadeite glassware is
an opaque, pale green glass that was first
produced in the United States in the early 20th
century. Its name comes from its resemblance to
jade, a stone long prized in Asian art and
culture. The most well-known producer was Anchor
Hocking, which introduced its “Fire-King” line
in the 1940s, though other companies like McKee
Glass Company and Jeannette Glass Company also
made similar wares. Jadeite emerged during the
Great Depression, when durable, affordable
household goods were in high demand. Its sturdy
construction and cheerful color made it both
practical and uplifting in a time of economic
hardship.
The
popularity of jadeite surged in the mid-20th
century, especially in the 1940s and 1950s. It
was often given away as promotional items in
grocery stores or packaged with products like
flour, oatmeal, or coffee, making it accessible
to a wide range of households. Restaurants and
diners also used jadeite for its durability and
clean, appealing look. Over time, it became
associated with vintage Americana and
mid-century kitchen aesthetics. In the late 20th
and early 21st centuries, nostalgia and a
renewed interest in retro design sparked a
revival, bringing jadeite back into the spotlight
among collectors and home decorators.
Today, jadeite glassware is highly collectible,
with values varying widely depending on rarity,
condition, and manufacturer. Early pieces from
McKee or rare Fire-King patterns can command
high prices, especially if they are in excellent
condition with minimal wear. Collectors often
seek out specific items like mixing bowls,
measuring cups, and restaurant ware, as well as
unique or limited-production designs.
Reproductions are also common, which makes
authentication an important aspect of
collecting. Beyond monetary value, many
enthusiasts appreciate jadeite for its timeless
aesthetic and the sense of history it brings to
everyday objects. And I think it is just as
beautiful in miniature as in full size!
|
| |
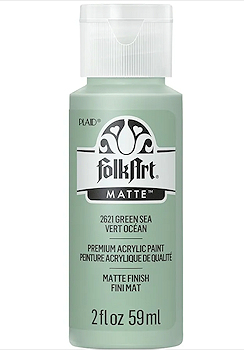 |
After testing dozens of paint shades,
I was lucky enough to find a color that exactly
matched the color of my vintage pieces. If you
are a collector, you know that Jadeite comes in a
variety of subtle variations of green, and if you
find a color that you prefer to the one I used,
feel free to use it. Please test it on a
piece first, remembering that the color will
change as it dries... usually darkening by 2-3
shades, and will then look different again after
being varnished.
I will
give you basic instructions and tips for application
here. As most of the pieces are finished in
the same way I do not feel individual instructions
are needed for each piece. I will however
provide instructions for anything that needs
"special" attention. |
|
Some basic tips and tricks! |
1. Use a soft fine brush. A rounded
flat shader is a good choice.
2. Rinse
your brush often.
3. Be sure to shake your
paint well.
|
|
4. Use scotch double sided tape to secure each
piece on the end of a wooden popsicle stick.
The bottom does not need to be painted, but the
stick will allow you to move, handle, and rotate the
piece in every way needed to paint it without
getting your fingers in the way. |
5. The pieces are very highly
detailed. You do NOT want to apply the paint
so heavily that you flood out and fill in all of
the details. Do a very thin coat first, and
allow it to dry, then follow up with a second thin
coat. If necessary, thin your paint
with a SMALL amount of water or medium. This will insure that you get
full coverage, but still retain the details. |
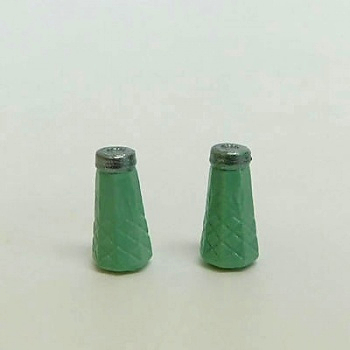 |
6.
Most of the salt and pepper sets had silver lids.
Use a metallic paint of your choice to paint
these. |
7. When the paint is completely dry, apply a
thin, even coat of water base brush on varnish.
The finish should be shiny, but not obnoxiously
so. I have found that satin actually has a
nice shine depending on the brand. Never use a
high gloss finish.
NOTE: If your
piece is one that has a water slide decal, so not
apply your varnish until after you have affixed the
decal. |
|
 |
Special
Techniques
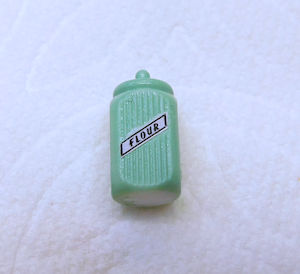
Some models include
labels and decals. The first example is the set
of canisters, which feature authentic labels for
each. The labels for the canister set are paper,
so it is ok to varnish the pieces before applying
the labels. |
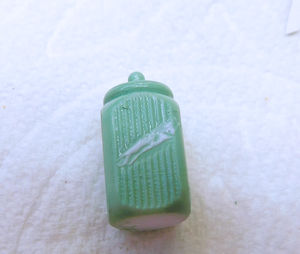 |
For the canister set, you have five different
labels. All are authentic. Choose the
four you want to use. Cut each paper label out
carefully with small sharp scissors.
Apply
glue to the flat diagonal area on the front of the
canister using a toothpick.
Put the label into
position.
If desired, after glue is completely
dry, you can apply a very thin coat of varnish. |
|
|
Water Slide
Decals
Additionally, many of the salt and pepper sets
include water slide decals which are authentic
reproductions of the actual text used on each
style. Here are instructions on how to apply the
water decals. |
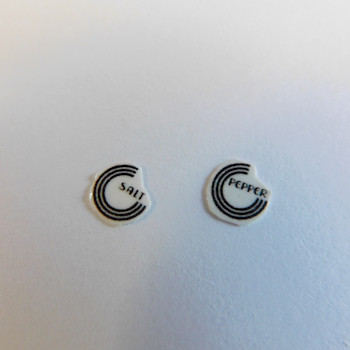 |
Using small sharp scissors cut out each label
design, cutting closely to the outline of the
design. You will be cutting thru two layers,
the clear top layer, and the white cardstock
layer. |
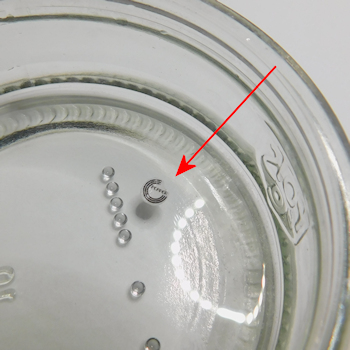 |
Get a small dish of warm water. Not hot, not
cold... warm. Place only ONE of the decals
into the water. Because they are so small,
they will need only a couple of seconds in the
water before they should be removed. Gently
use a pair of fine tweezers. |
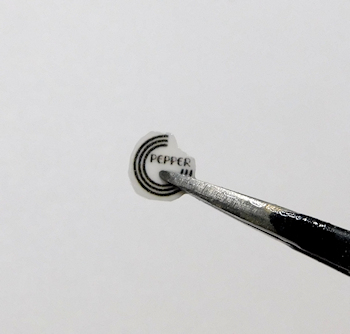 |
Hold the decal gently in the tweezers, and bring
it over to your resin piece. |
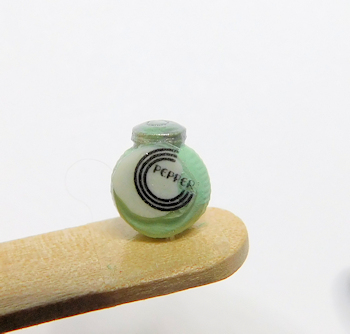 |
Place it carefully on the piece. Anchor one
edge of the decal lightly with your thumbnail and
use the tweezers to carefully reach under
and grab the white cardstock, Holding the
clear layer in place, gently pull the cardstock
out from under the clear layer, allowing it to
fall onto the surface.
It's not going to land
in the perfect position. It never does.
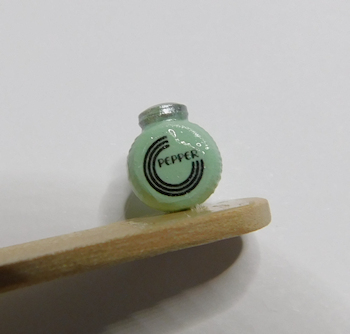
Use a tiny needle to gently move it around on the
surface until it is in place. The water
under the decal will help it move easily. |
 |
Once the design is positioned properly, I use a
very soft flat brush and gently pat the decal into
place, absorbing any excess water. You can
also use a piece of soft tissue or a q tip to
gently press the decal down and pick up the excess
moisture. As it dries, the decal will glue itself
to the surface. Don't scrub it with the
brush or tissue, you don't want to damage the
printed design. |
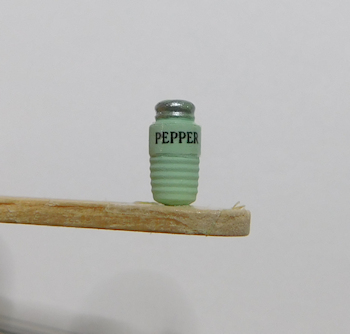 |
When the piece is completely dry, apply a
light coat of your varnish over the decal, paying
attention to make sure to cover all of the cut
edges of the decal to secure them into place.
Fiddly? Yes! Adorable? Absolutely!!!! |
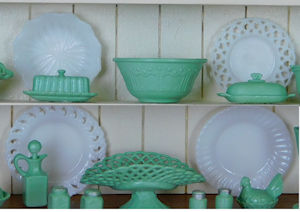 |
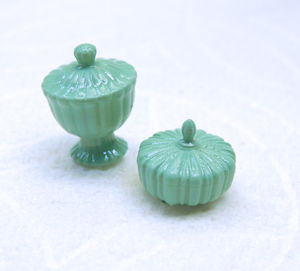
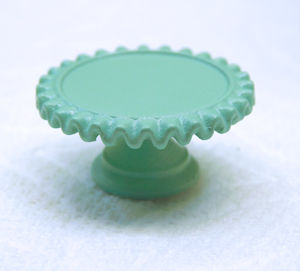
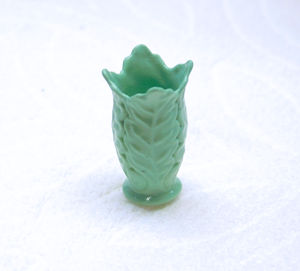
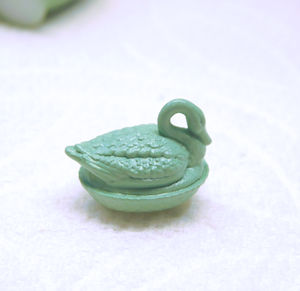
I'll show you a few photos of painted pieces just
for inspiration! |
 |
 |
 |
 |
| |
I hope you will enjoy making these wonderful
little pieces. If you have any questions,
drop me an email!
|
|
| |
|
|
|
|
|
|
|
|
|
|
|